I’ve got another “Show Your DIY Disney Side” craft to share with you today, with step-by-step instructions for turning your Disneyland Resort guide maps and tickets into handmade keepsakes. Not much of a crafter? No need to fear! These projects are quick, easy and fun to make. All it takes is a little faith, trust and pixie dust (and a few supplies from the art supply store)!
 |
 |
Today, we’re making a set of drink coasters using Disneyland and Disney California Adventure park guide maps, tickets and the most important piece, bathroom tiles. But don’t start ripping your bathroom apart just yet! Home improvement stores sell individual ceramic tiles, and some cost less than a quarter each.
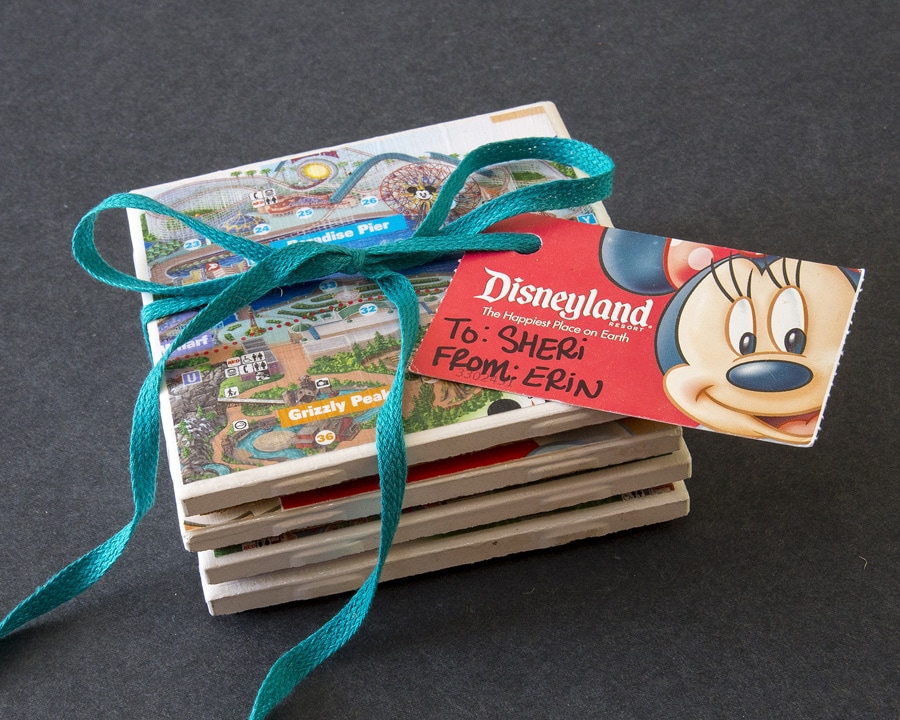
Whether you’re giving these coasters as a gift or keeping them for yourself, they’re sure to add a magical touch to any table. I’ll chEARS to that!
Supplies:
- Square ceramic tiles (Mine were 4 ½” x 4 ½”.)
- Disneyland Resort guide map, theme park tickets or any other decorative paper, cut into 4” squares
- Foam brush
- All-in-one decoupage glue, sealer and finish
- Waterproof acrylic sealer
- Thin cork, cut into 4” squares
- Heavy-duty crafting glue
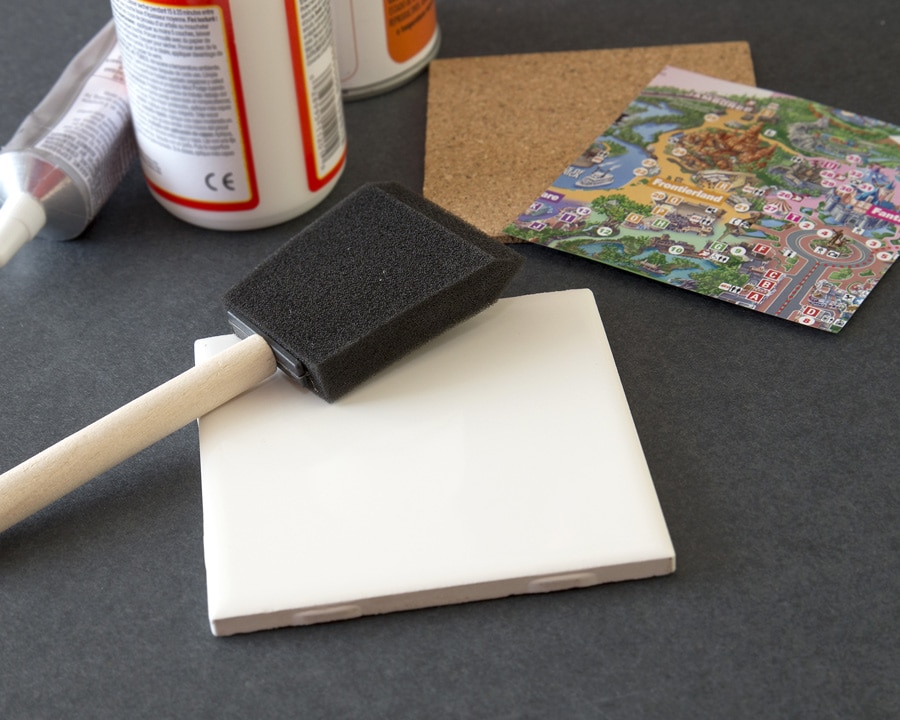
Step 1: Wipe the tile with a damp cloth to remove smudges and fingerprints.

Step 2: Use the foam brush to paint the tile with a generous coat of decoupage glue. Immediately center paper on the tile, pressing firmly on one edge and working your way to the opposite end to get rid of air bubbles and creases. Allow to dry for 10-15 minutes.
Tip: Be sure to apply additional pressure to the edges and corners since they’re prone to peeling.
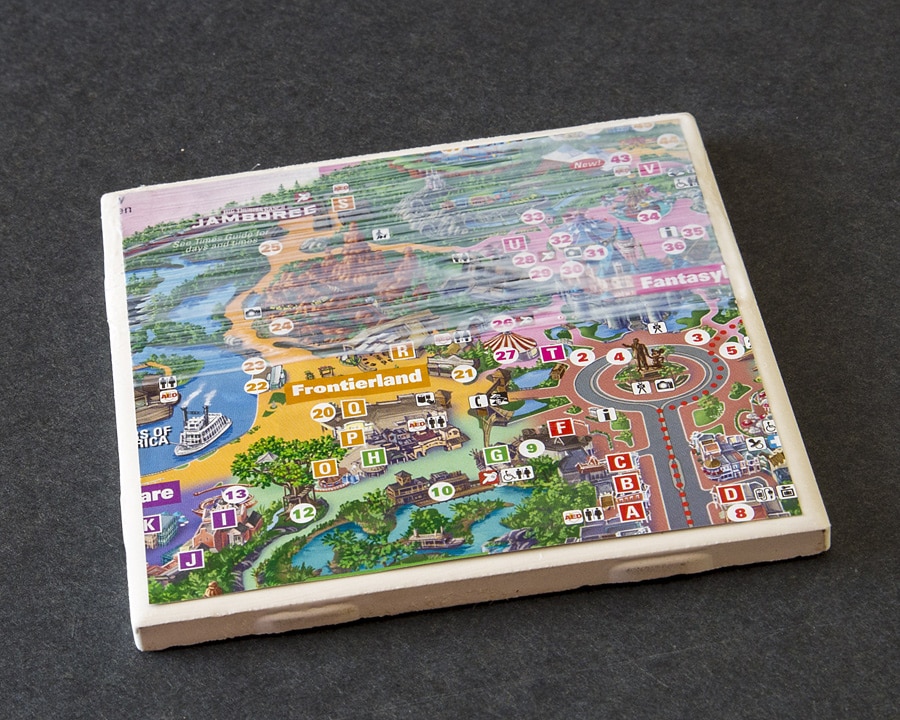
Step 3: Brush a layer of decoupage glue over the paper and tile, making sure your brushstrokes run in one direction (You’ll be able to see the strokes when the glue dries). Allow to dry for 10-15 minutes.
Step 4: Brush a second layer of decoupage glue over the paper and tile in the same direction as in Step 3 or in the opposite direction to create a crosshatch pattern. Allow to dry for 10-15 minutes. Repeat steps 3 and 4 until the desired look is achieved. (I used four layers of decoupage glue.)
Step 5: Apply a thin layer of acrylic sealer according to the sealer directions. Allow to dry completely.
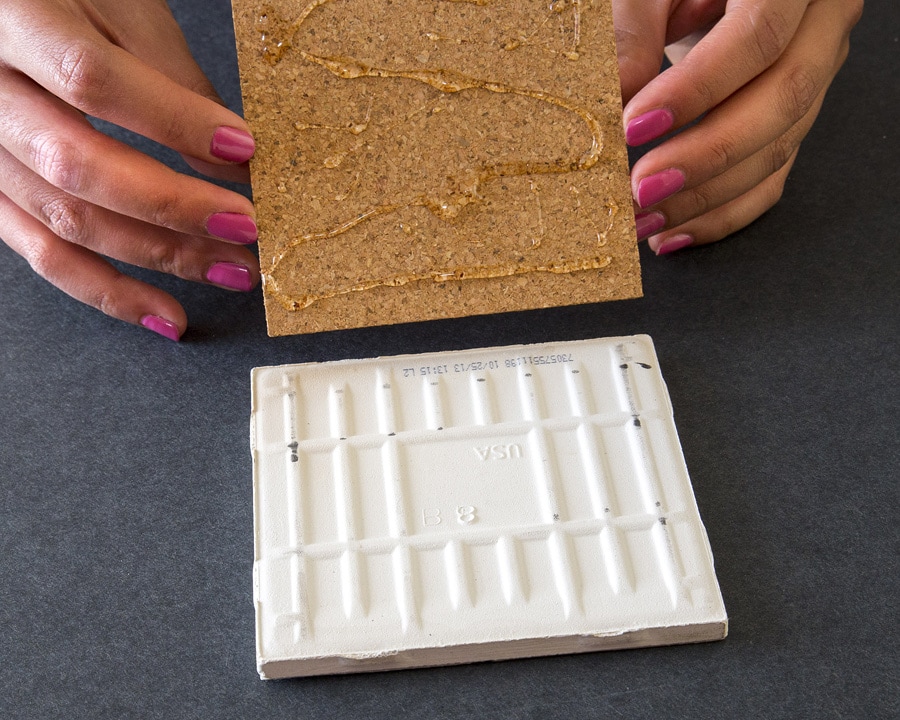
Step 6: Use crafting glue to attach a cork square to the back of the tile. (That way, you can use and stack your coasters without worrying about scratches.)
Repeat process with remaining tiles. Allow each to dry for at least 24 hours before use.
Which DIY Disney Side craft are you working on? Tell us in the comments!
Comments
Saw this a few months ago! Made sure to grab a bunch of extra maps from Disneyland and California Adventures when we visited couple days ago. Living in Florida….I can’t wait to make these and give them as gifts to our friends here who have not yet been able to visit Disneyland, but still love everything Disney!
IM sad we dont have tickets we have band i stay in the pop orlando
I have to remember this for the next trip!
Im not really a crafty person, However i fell in love with this craft idea. could you essentially do the same thing on a Painting Canvas to create your own Wall Art? or would you suggest doing this idea a different way? thank you
Very cool! I’ve done something similar with canvas shoes (different scenes on each side panel) and used construction paper on canvas frames to create minimalist Disney art for my walls. So great to see Disney-themed crafts on the Disney Parks Blog!
OMG! I was just thinking yesterday, “I need some REAL drink coasters!” (you know, instead of putting your drink on a magazine, some mail laying around, a napkin..) Who does that?!
What a cool idea. I just returned from WDW and now I know what to do with the park maps we brought back. Thanks for sharing this.
What a great idea!! I have a friend who loves Star Tours so I just went to eBay and purchased a Star Tours poster that I’m going to cut up and do the same thing with!! Just in time for her birthday, too! Thanks.
I love that idea!
Great idea! However, I would use the old maps. I find the new maps to be rather blah and difficult to read.
LOVE this and the magnet one as well. Could you please add a tag of “DIY” in addition to your other tags for these projects? Some friends and family are going to have a DIY Disney swap and we need to be able to find these cool crafts. THANK YOU!
Done – thanks for the suggestion!
Very smart idea – we aren’t typically “crafty” but this is a must do activity!
I cut the back off a WDW rain poncho and put together wooden stretcher bars (from the art supply store). I carefully centred the logo of the poncho over the frame and folded the edges around the back of the frame and used my staple gun to attach the poncho logo to the frame.
Voila – cleanable bathroom art.
All I had to buy was the 2 – 18″ wooden bars and 2 – 24″.
What a great idea!
This is an *awesome* idea. I’m totally doing this for my son! Thanks!
These are super cute ! I did the same thing with 4 x 4 photos from our last Disney trip. Love having little moments of Disney all over the house. °0°
I love this! I wish I would have saved our maps, I guess we’ll just need to go back 🙂
Any excuse, right? 🙂
I covered a carousel horse with Disneyland, Magic Kingdom, and Epcot maps. It’s at the top of our staircase so every time we walk by we have a little bit of the magic near by.
That sounds lovely.
Thanks so much for posting this- it generates quite a few ideas!!!
Dr. Chris
I love this idea! Thanks for sharing!
Hi Erin,
I LOVE this idea and will start right away. It’s so easy too. I’m going to cheat a little by buying coasters from the Dollar Store and following your instructions thereafter. Neat, neat, neat!
Thank you,
Jackie
Great shortcut!
Comments are closed.