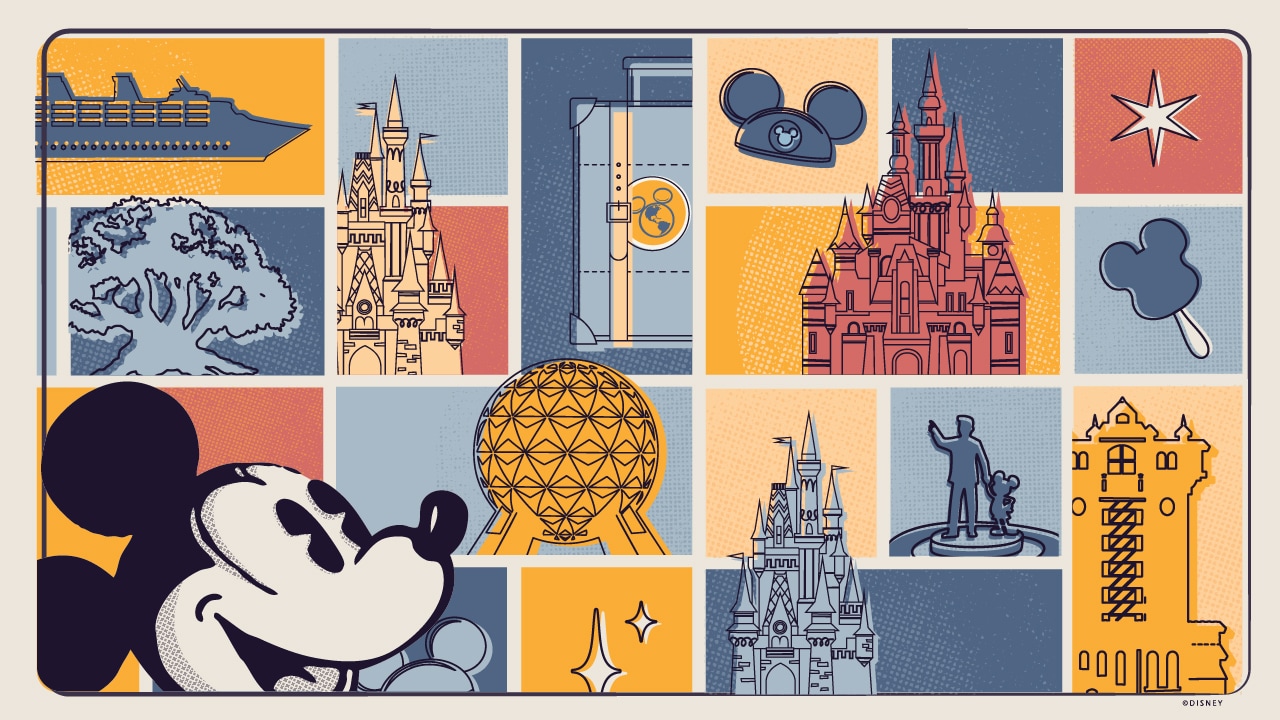
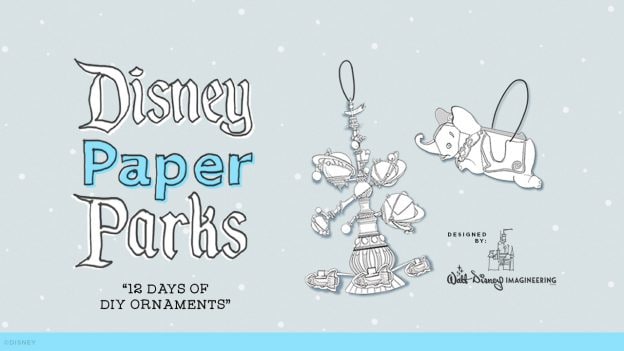
Disney Paper Parks is back for the holiday season with a new, three-part series launching today to help spread holiday cheer! Today’s set of printable activity sheets is complete with instructions on how to create 3D versions of paper ornaments inspired by iconic Disney Parks attractions and locations, holiday wrapping paper and more.
Add to the fun by crafting one ornament per day for a total of 12 days of Disney Paper Parks! Included is an ornament holder with pockets labeled one through 12 so you can store each day’s materials and pull them out one day at a time to craft your next ornament.

As a bonus, there are fully drawn themed sheets in this set that can be used as wrapping paper, too. Color the ornaments and wrapping paper to your liking and deck the halls of your home with Disney Paper Parks!
For best results, we recommend printing the activity sheets at their actual size, not scaling them to fit the page. We also recommend adult participation or supervision for those with little ones to help make this great activity even more enjoyable.
The sheets were created for the Disney Parks Blog by Imagineers Stephanie Jazmines and Amy Young, and require the use of scissors, glue and folding along dotted lines in specific directions. Imagineer Lyndsey Vincent also designed today’s release.
Stay tuned for more holiday-inspired activity sheets as the series continues – ‘tis the season for Disney Paper Parks!
By downloading Disney Paper Parks, you acknowledge and agree that these materials are being provided to you for personal, non-commercial use.
Comments
hello! I’m having a hard time with printing these out. In a few of the pages, the assembled image is posted over the actual printable image. Therefore I cannot print the page without the assembled image overlapping onto the ornament image. I can’t seem to get rid of the assembled image- I can’t edit the image. Is there something I’m doing wrong? Help!
Comments are closed.